
- GROW WITH CONFIDENCE - We are so confident in the quality of our AeroGarden seeded pods, that we will send out a replacement seed pod if one fails to germinate after 3 weeks
- PLANT TO PLATE – Non-GMO seeds; No herbicides; No pesticides. Harvest herbs directly from the plant for use in your favorite recipes
- COMES WITH EVERYTHING - Also includes a 3 oz bottle of patented, specially formulated Liquid Nutrients and a Growing Guide with step by step instructions
- INCLUDES SALSA GARDEN SEED KIT - 5 pre-seeded Red Heirloom Cherry Tomato pods and 4 pre-seeded Jalapeno Pepper Grow Pod
- WORKS WITH ANY AEROGARDEN - For use in all AeroGarden models
You Have A New Hydroponic Growing System. Now What?
You have a new indoor garden and high hopes. What do you do next?
Keep Reading
Surviving in a Post-AeroGarden World
AeroGarden announced its closing effective the first of January, 2025. Farewell, good friend.
Keep Reading
The Most Reviewed Indoor Gardening Equipment
You don’t get thousands or tens of thousands of reviews by being a horrible product. What works? Find out here.
Keep Reading
32 Factors to Consider When Setting Up Your Indoor Garden
Avoid making simple mistakes when you set up your indoor garden.
Keep Reading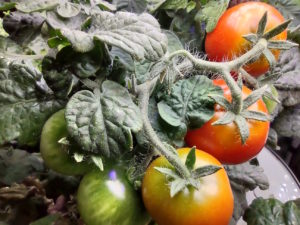
You Can Grow Tomatoes Indoors
You can grow delicious tomatoes indoors all year long, and it’s actually quite easy. Get started now!
Keep Reading
Is Indoor Gardening Expensive?
Is gardening indoors expensive? Relatively, no.
Keep Reading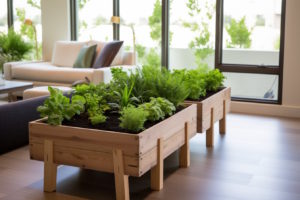
A Raised Bed Garden Indoors? Bring It On!
Learn how to grow your food indoors using an indoor garden bed.
Keep Reading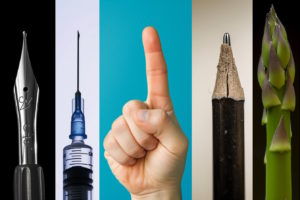
Tips For Growing A Bountiful Indoor Garden
Make your life easier and grow more food indoors with these tips, tricks, and suggestions.
Keep Reading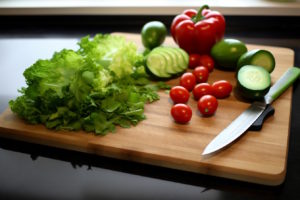
How to Choose Your Hydroponic Growing System
Ready to buy a hydroponic growing system, but not sure what features matter? Start here!
Keep Reading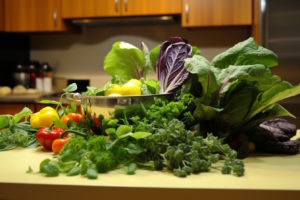
How to Plan Your Indoor Garden
Get more from your indoor garden by gardening with a purpose.
Keep Reading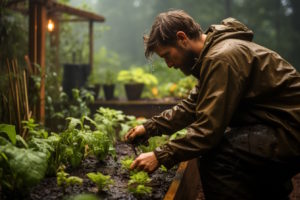
Indoor Gardens Aren’t Outdoor Gardens Indoors
When you grow your garden indoors, you leave the old traditions and limitations outdoors.
Keep Reading
How to Get a Salad Every Day from Your Indoor Garden
You can grow an indoor salad all year long. Learn how!
Keep Reading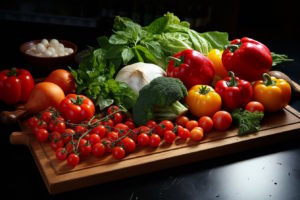
What Can I Grow with My Indoor Garden?
Spoiler alert: Almost anything! This is a LONG list. And it’s really easy.
Keep Reading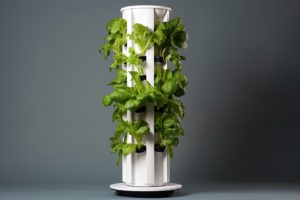
Limited Floor Space? Go Vertical With Your Garden!
Learn about vertical indoor gardens and discover your options.
Keep Reading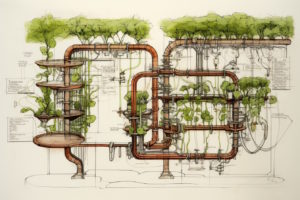
How a Self-Watering Hydroponic System Works
Get the best self-watering hydroponic system by learning how they work.
Keep Reading
Why Your Outdoor Garden Should Be Indoors
Bring your garden indoors for year-round produce without the back-aches.
Keep Reading